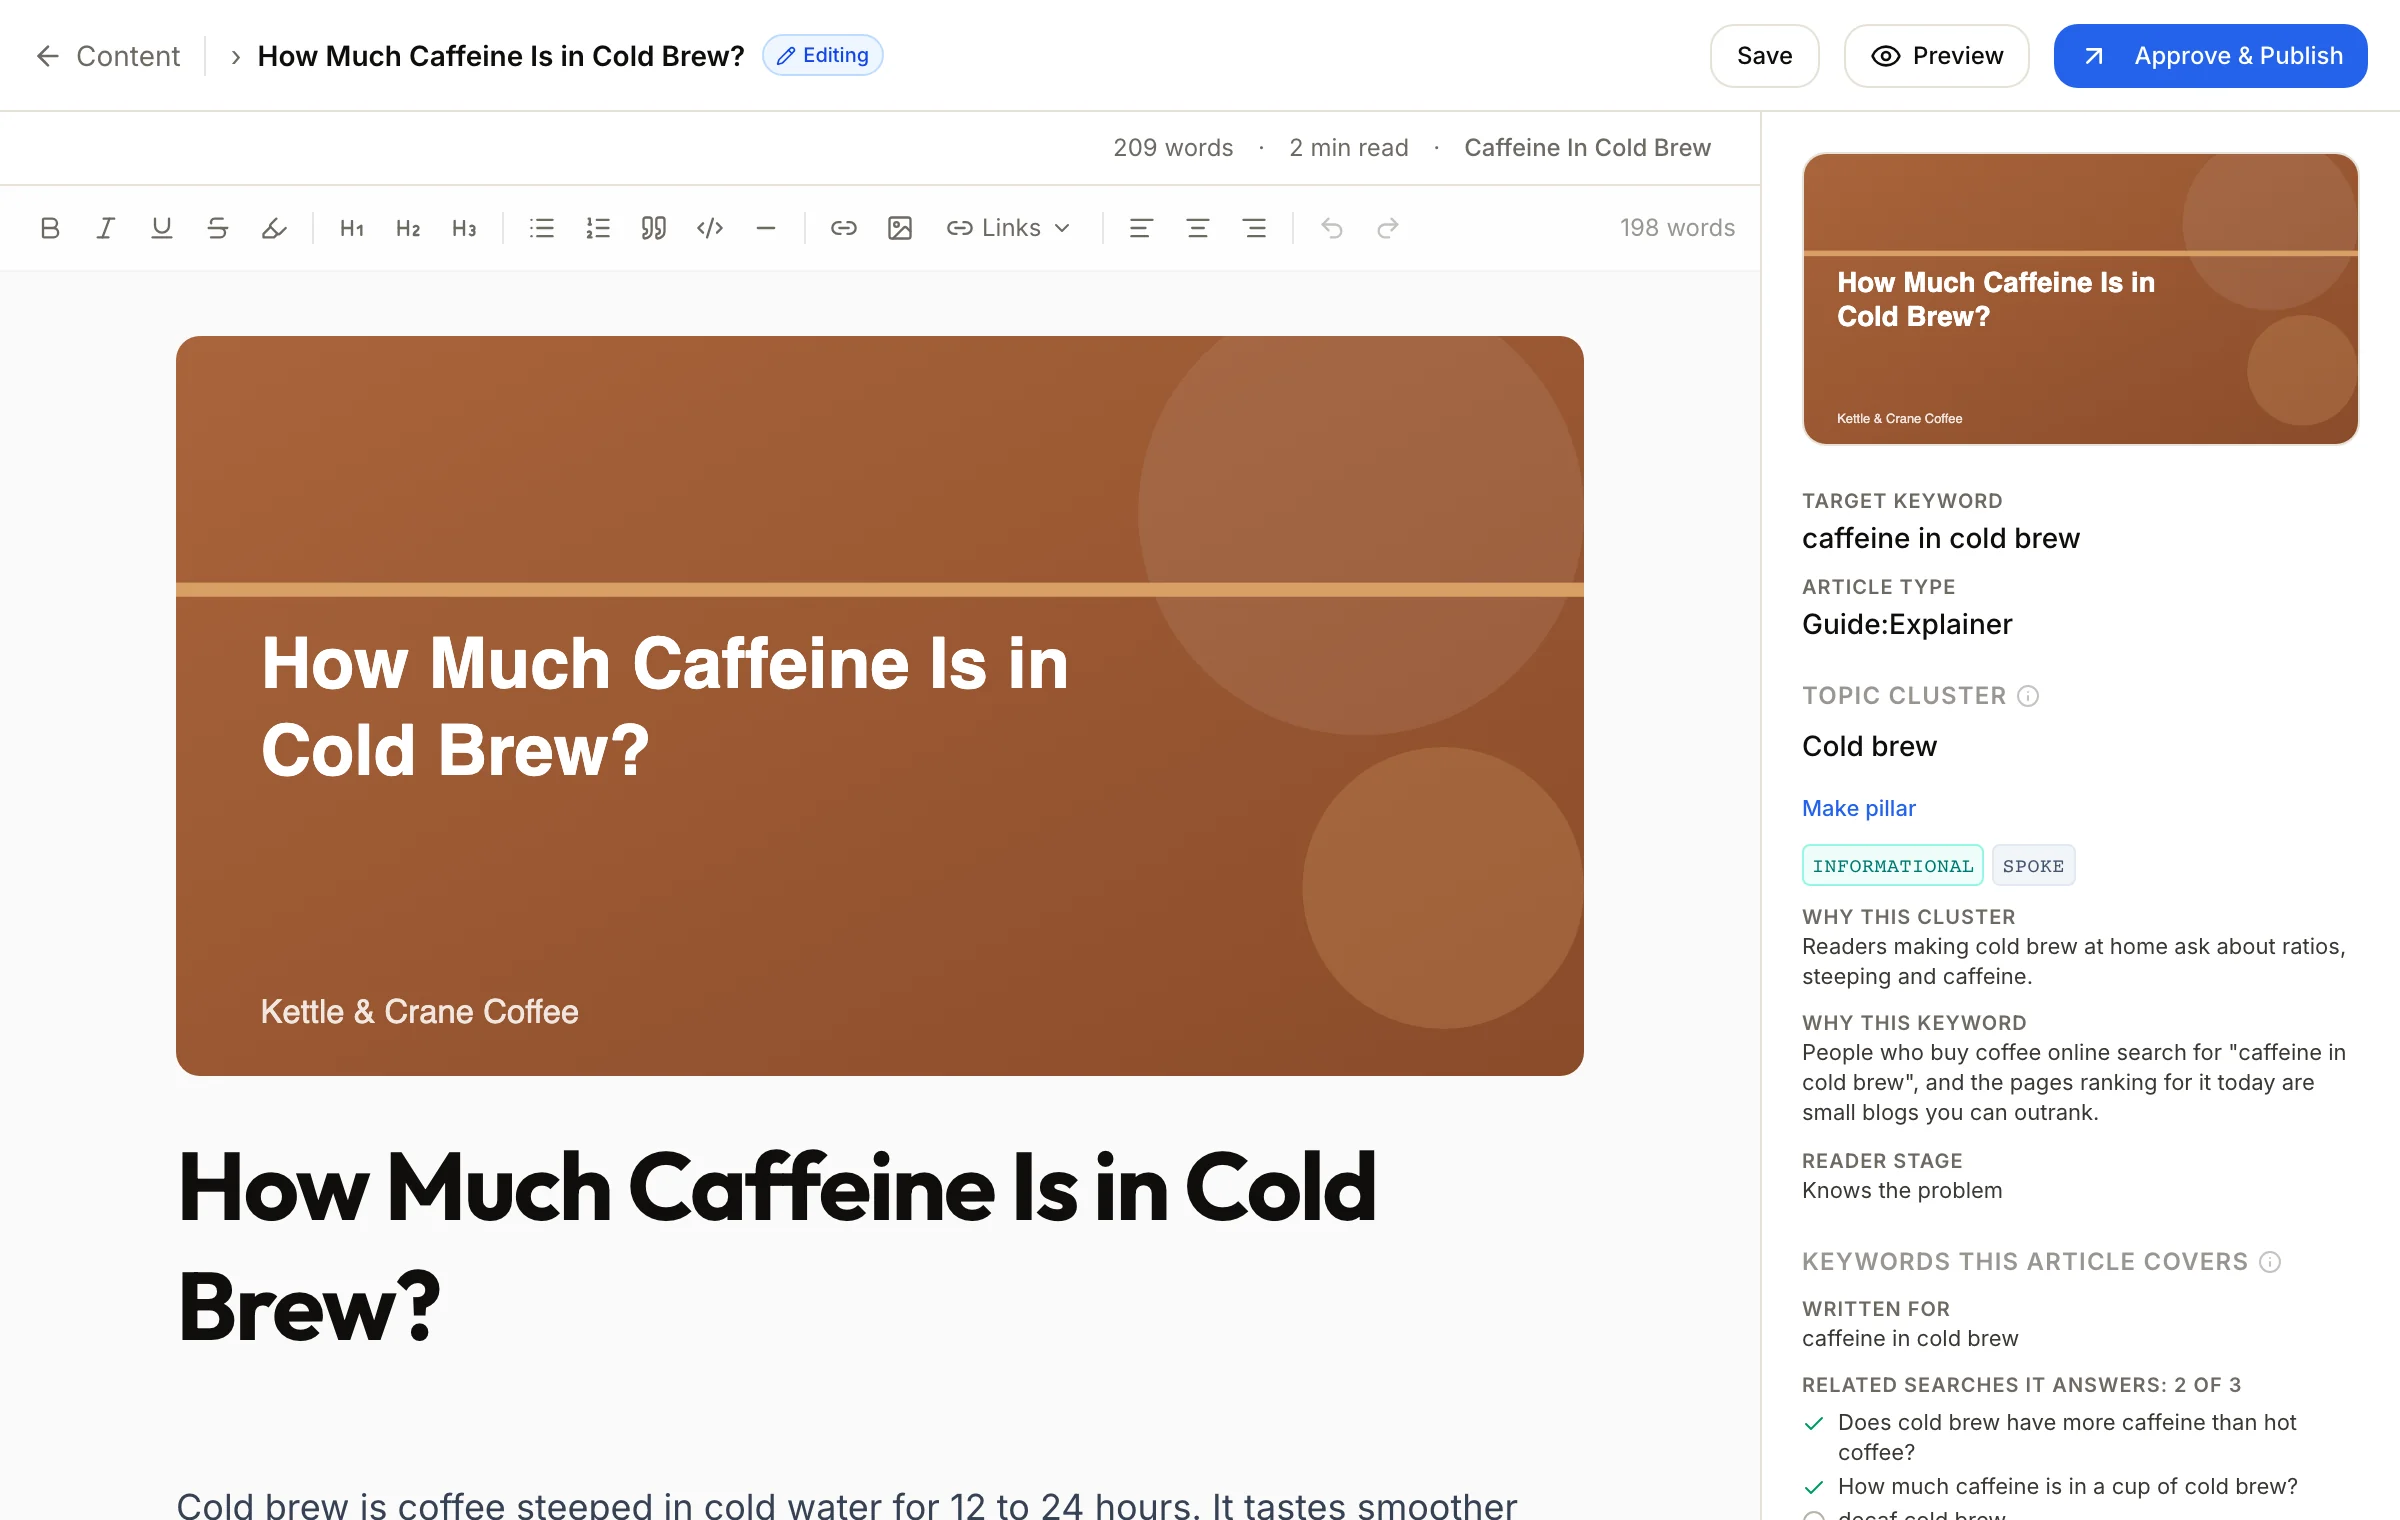
Open an article from its card on the Content Planner calendar, or from Content > Past Articles. The article opens in the editor, with its details in the sidebar on the right.
Change the text
Click into the article and type. Your changes are saved as you go: the top of the page shows Saving… and then Saved.
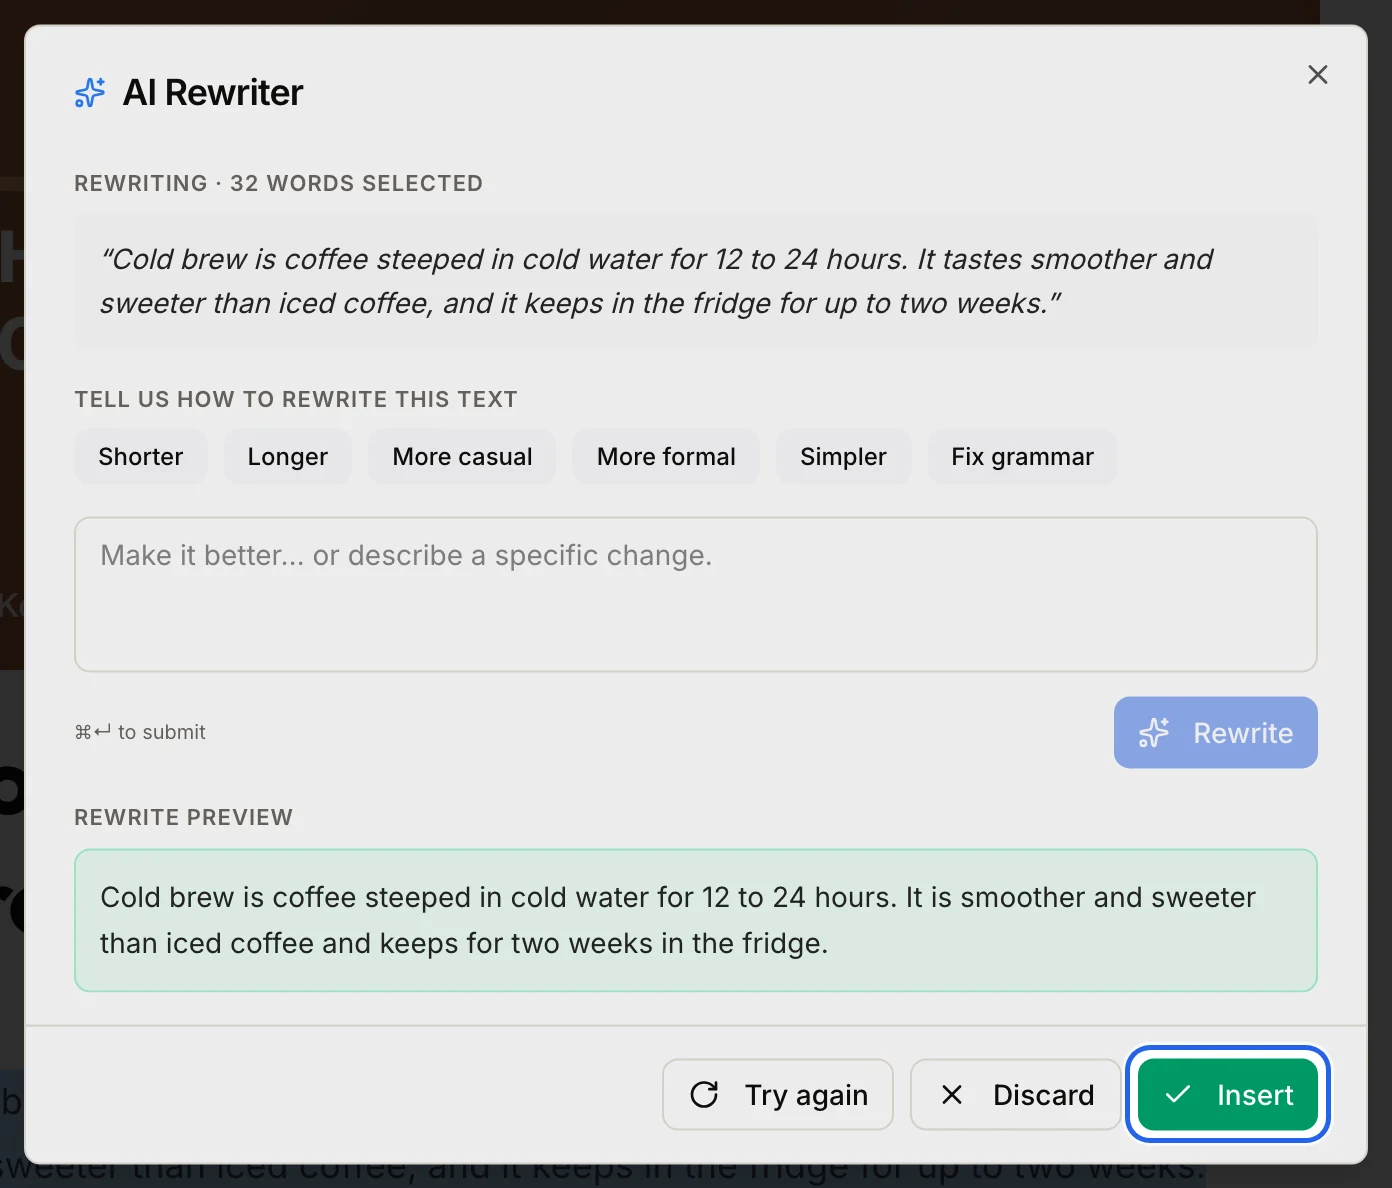
To rewrite a passage with AI:
- Select the text.
- Click Open AI Rewriter in the sidebar.
- Pick Fix grammar, Shorter, Longer, Simpler, More formal or More casual. Or describe the change you want and click Rewrite.
- Read the preview, then click Insert to put it in the article. Or click Try again or Discard.
Tip
To select a whole paragraph, click it three times.
To add a picture, click Insert Image in the toolbar. You can generate one with Generate Image or add your own.
Change the details
The sidebar holds the article's Meta Description, Slug and Publish Date. The meta description is the short summary search engines show under the title.
The sidebar can also:
- Add or remove a short FAQ section at the end of the article.
- Suggest links to your other published articles. Click Insert on a suggestion to add the link.
See the keywords it covers
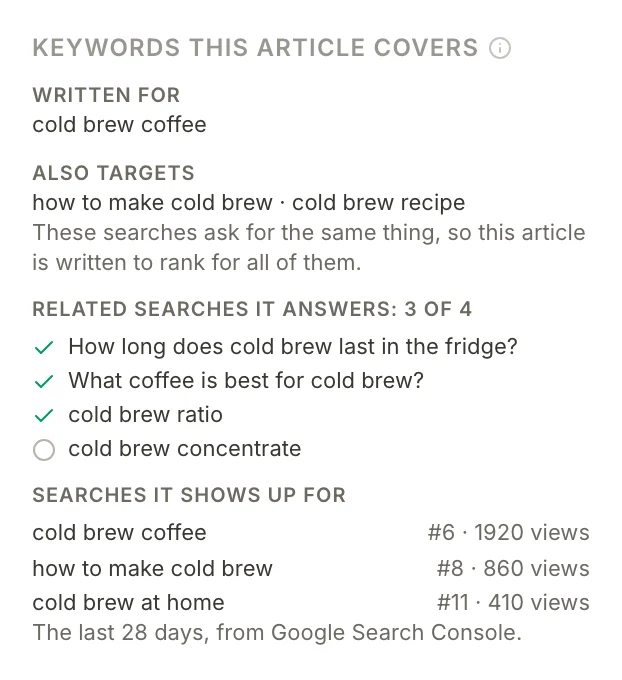
Keywords this article covers in the sidebar shows what the article is written to rank for:
- Written for: the keyword the article targets.
- Also targets: searches that ask for the same thing, so this one article answers them too.
- Related searches it answers: questions and searches people make around the keyword, with a tick on each one the article answers.
- Searches it shows up for: once the article is live and Google Search Console is connected, the searches its page appeared for over the last 28 days, with its position and views.
Publish it
Click Approve & Publish.
- If your blog is connected in Integrations, the article is sent to it. The status reads Publishing and then shows it is live.
- If no blog is connected, the article is approved and waits. It is published once you connect one.
After an article is live, edit it as usual and click Republish to send the new text to the same post.
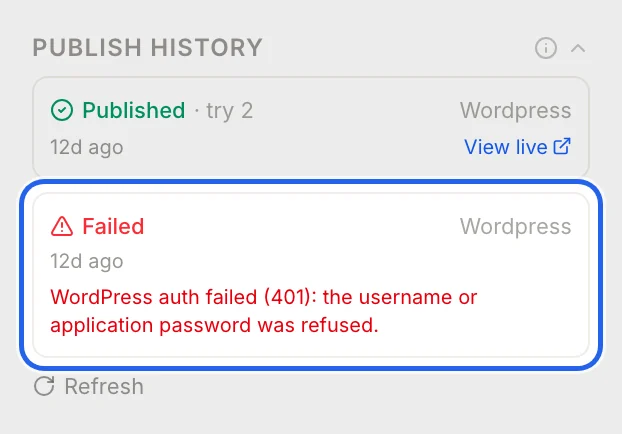
Under Advanced in the sidebar, Publish history lists every attempt. If one failed, it says why and when the next try runs.
Go back to an earlier version
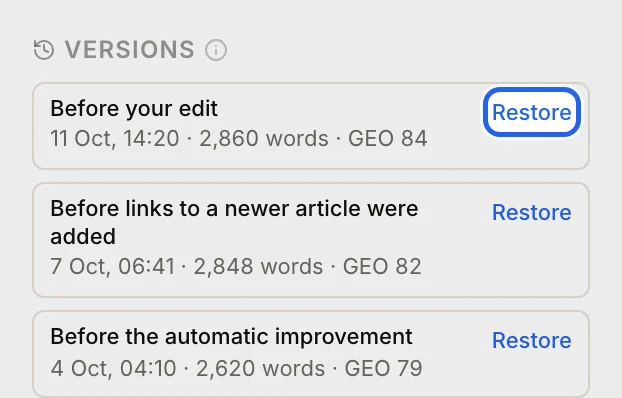
Each time the article's text is replaced, by your edits, by an automatic improvement or by a new link, the old text is kept under Versions in the sidebar. Click Restore on a version, then Restore again to confirm.
Tip
Restoring keeps your current text as a version too, so nothing is lost.
An article marked Improved has been updated by Gofylo to help it rank better. Its earlier text is under Versions.
Export or delete it
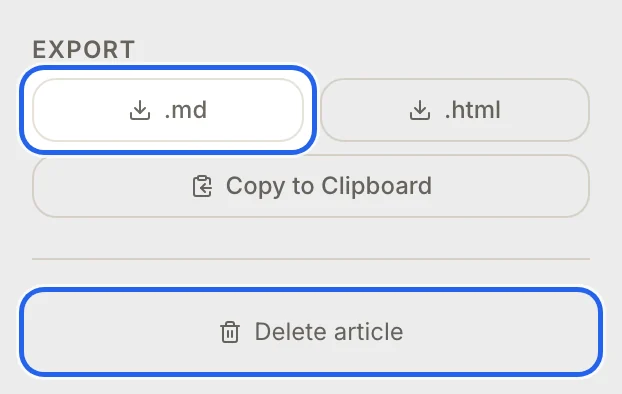
Under Export in the sidebar, download the article as .md or .html, or click Copy to Clipboard. Delete article asks you to confirm, then removes the article for good.
Warning
Deleting an article that is live also takes it off your blog on most platforms, and it can't be undone in Gofylo. Each platform's guide says what happens there.